The last time I wrote about this, I mused how I was going to move from CircuitPython to MicroPython, especially in support of devices. Turns out that the Raspberry Pi Foundation has published quite a bit of information about how to manipulate every feature on the Raspberry Pi Pico. So while I was reading The Raspberry Pi Pico Python SDK, I discovered all sorts of interesting ways to use MicroPython to interact with the Pico, and the Pico W, and thus with external devices. I also discovered that the Python SDK is copyright from 2022 to 2024; the last publish, or “build” date, was 2 May 2024 of this year. So the Python SDK is reasonably up-to-date, far more so than many of the other web posts that attempt to show how to utilize the Pico and Pico W with various external devices.
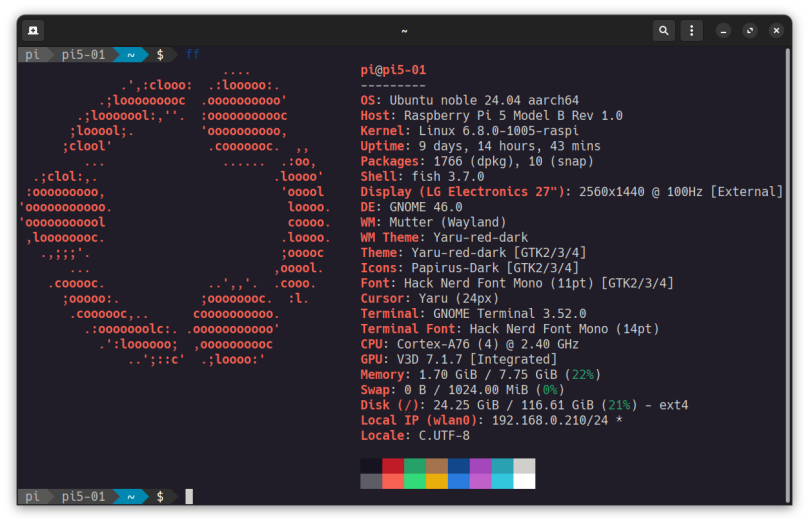
The photo above shows the same two devices I used in the first post, a Pico W connected to an SSD1306 OLED display sold by Adafruit. This time, I’ve added code to display a pair of Raspberry Pi logos, one for each core on the RP-2040 microcontroller. This is very similar to what the Linux kernel shows on a Raspberry Pi when it’s initially booting, or else it did back in the day. I don’t see that happening with Ubuntu 24.04 for the Raspberry Pi 5.
I’m listing the code again, with one warning. I copied a bit of code out of the Python SDK, the code that set up the bitmap for the Raspberry Pi logo. If you try to copy from that example in the Python SDK you’ll be short a byte because when they converted the bitmap to a bytearray string, they converted the binary to both hex representations and printable characters. One of those characters was a space (0x20), which when published to PDF was used as a wrap point in the text, and thus lost in translation as it were. I had to go look at similar code on GitHub and copy it from there. I’ll include a link to that below, after the code.
But here’s the code as it currently exists now.
print()import gcprint(f" MEM FREE: {gc.mem_free():,} BYTES")import osUNAME = os.uname().sysname.upper()stat_vfs = os.statvfs('/')print(f" FS TOTAL: {stat_vfs[0] * stat_vfs[2]:,} BYTES")print(f" FS FREE: {stat_vfs[0] * stat_vfs[3]:,} BYTES")import platformprint(f" PLATFORM: {platform.platform()}")import binasciiimport machine as maUNIQUE_ID = binascii.hexlify(ma.unique_id()).decode('ascii').upper()print(f" UID: {UNIQUE_ID}")SSID = UNAME + '-' + UNIQUE_ID[-4:]print(f" SSID: {SSID}")print(f" CPU FREQ: {ma.freq():,} Hz")# Scan I2C bus for devices## I2C pins for Raspberry Pi Pico W, device I2C1#SDA_PIN = 26SCL_PIN = 27SOFT_I2C = ma.SoftI2C(scl=ma.Pin(SCL_PIN), sda=ma.Pin(SDA_PIN))print(f" I2C: {SOFT_I2C}")i2c_scanned = SOFT_I2C.scan()if len(i2c_scanned) == 0:print(" I2C: No Devices Found")else:print(" I2C: DEVICES FOUND:", [hex(device_address)for device_address in i2c_scanned])# Check if there is an SSD1306 display attached.#import SSD1306import framebufif SSD1306.OLED_ADDR in i2c_scanned:print(" I2C: SSD1306 OLED")## Create instance of SSD1306 class to control the display.# Initialize it by clearing everything.#display = SSD1306.SSD1306_I2C(SOFT_I2C)display.fill(0)## Create a graphic of the Raspberry Pi logo.# Display it twice, one logo for each RP2040 core, similar to what# the regular Raspberry Pi does on initial boot.# I copied the bytearray for the logo from Raspberry Pi itself:# https://github.com/raspberrypi/pico-micropython-examples/tree/master/i2c#buffer = bytearray(b"\x00\x00\x00\x00\x00\x00\x00\x00\x00\x00\x00\x00\x00\x7C\x3F\x00\x01\x86\x40\x80\x01\x01\x80\x80\x01\x11\x88\x80\x01\x05\xa0\x80\x00\x83\xc1\x00\x00C\xe3\x00\x00\x7e\xfc\x00\x00\x4c\x27\x00\x00\x9c\x11\x00\x00\xbf\xfd\x00\x00\xe1\x87\x00\x01\xc1\x83\x80\x02A\x82@\x02A\x82@\x02\xc1\xc2@\x02\xf6>\xc0\x01\xfc=\x80\x01\x18\x18\x80\x01\x88\x10\x80\x00\x8c!\x00\x00\x87\xf1\x00\x00\x7f\xf6\x00\x008\x1c\x00\x00\x0c\x20\x00\x00\x03\xc0\x00\x00\x00\x00\x00\x00\x00\x00\x00\x00\x00\x00\x00")raspberry_pi_logo = framebuf.FrameBuffer(buffer, 32, 32, framebuf.MONO_HLSB)display.framebuf.blit(raspberry_pi_logo, 0, 33)display.framebuf.blit(raspberry_pi_logo, 33, 33)## Display the official MicroPython logo#display.framebuf.fill_rect(0, 0, 32, 32, 1)display.framebuf.fill_rect(2, 2, 28, 28, 0)display.framebuf.vline(9, 8, 22, 1)display.framebuf.vline(16, 2, 22, 1)display.framebuf.vline(23, 8, 22, 1)display.framebuf.fill_rect(26, 24, 2, 4, 1)## Print some identifying text with the graphics, such as version and# the identifying string of the Raspberry Pi Pico.#display.text('MicroPython', 40, 0, 1)display.text('-'.join(platform.platform().split('-')[1:3]), 40, 12, 1)display.text(SSID, 40, 24, 1)display.show()print()try:import networkwifi = network.WLAN(network.STA_IF)wifi.active(True)access_points = wifi.scan()networks = {}for network in access_points:if len(network[0]) > 0 and bytearray(network[0])[0] != 0:ssid = network[0].decode('utf-8')networks[ssid] = network[3]for ssid in sorted(networks.keys()):print(f"ssid: {ssid:24} rssi: {networks[ssid]}")except:print(" NETWORK: NO WIFI ON DEVICE")print()Links
- Raspberry Pi Pico Python SDK — https://datasheets.raspberrypi.com/pico/raspberry-pi-pico-python-sdk.pdf
- Using a SSD1306-based OLED graphics display — https://github.com/raspberrypi/pico-micropython-examples/tree/master/i2c/1306oled


You must be logged in to post a comment.