
Linux Mint 21 Final was released on 31 July. I’d been testing the beta for several weeks, both in a Parallels VM as well as from a USB stick directly on the machine. I was very happy with it. Very happy. Today I installed Linux Mint 21, moved my complete development environment over and got back to work. It took about two hours (more or less), with some life interruptions in the middle of it all.
I prepared for the transition from Fedora 36 to Linux Mint 21 by installing the Cinnamon desktop environment on Fedora. I could compare Fedora’s Cinnamon desktop with the Linux Mint 21 Cinnamon in the virtual machine. I would try something out in the VM, and then perform the same action on Fedora and Cinnamon. When I felt comfortable with Cinnamon, I used Balena Etcher on my Mac to copy the Linux Mint 21 ISO onto one of my many USB drives I have lying around (an old Sandisk Cruzer 4GB). Then I copied my entire home directory onto a spare Micron 500 GB SSD (CT500MX500SSD). I pulled out the M.2 SSD that the Fedora 36 was installed on, replacing it with a spare I have (and that still had Pop!_OS 22.04 still on it). I switch drives around when I change operating systems, rather than wipe out the existing installation. That way if it really goes south I can drop the older working operating system back into my computer and I’m back up and running again. With the replacement boot drive in place and my home environment copied, I installed Linux Mint 21.
Right after installation I sudoed to root and created a transfer directory in /home. I set ownership to the new Mint login account and exited root. As the non-root account I then recursively copied my saved home environment into this transfer directory. As it turns out, the ownership and group ID number are the same these days across distributions. That meant the Fedora 36 home directory with all its files was also effectively owned by the new Mint login account.
Once all the files were in the transfer folder I sudoed back to root. From there I renamed the original home account directory to an alternate name, then moved the copied home directory out of the transfer folder into /home, made sure it was properly named after the login account name, and then exited root. I was back in my full home directory with all my folders and files from Fedora 36. By the way, this is the same basic workflow I used to move from Pop!_OS to Fedora 36.
With everything in place I installed Vivaldi, Visual Studio Code, git, cmake and the build-essential package.
I was able to test building ESP-IDF code and it all continued to work.
My biggest problem was my Python virtual environment. I didn’t realize it until I tried to activate it that my old home directory was hard coded into the entire environment. I’d already create a list of all the Python packages I’d installed in that virtual environment, so I deleted the virtual environment and re-created it from my package list. I basically followed the second half of my post here: /2022/05/20/migrating-a-python-3-9-virtual-environment-to-python-3-10/. The virtual environment is back as are all my tools that depend on it.
A second smaller problem is that the brltty package comes pre-installed. I knew this would (probably) happen because Ubuntu 22.04 has it as well. A quick sudo apt purge brltty took care of the problem. Now I can plug all my Espressif and Raspberry Pi Pico boards into my USB ports and program them to my heart’s content.
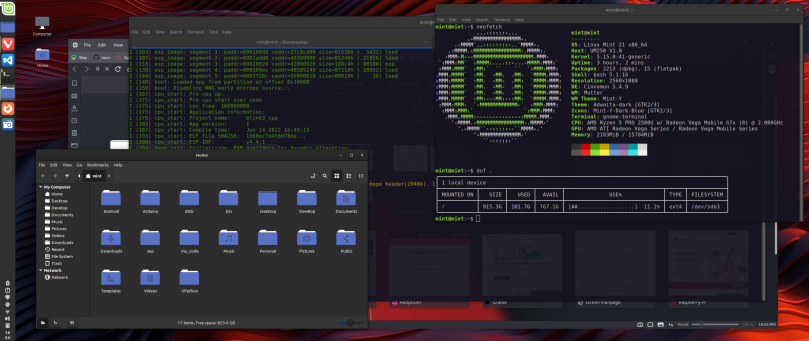
It’s interesting how clean this environment is. For example I needed to print a letter I’d written in LibreOffice Writer. Out of habit I hit the print button, and then regretted it because I thought the print would fail. It didn’t. Linux Mint had found the HP printer during installation and automatically set it up. This was a far cry from getting it to work with Fedora 36. Another little surprise was when I wrote this post. The screen shot at the top was dropped into place via drag-and-drop from the folder it was saved to. Under Fedora, drag-and-drop didn’t work very well with Vivaldi.
I can also build a full Python again. I built and installed Python 3.11 beta 5, and created a second virtual environment. I never did get everything to build under Fedora.
I’m done distribution chasing. I appreciate the experiences, and I’ve come away with a better appreciation of various Linux distributions. Linux Mint suits me. As far as I’m concerned it’s the gold standard for Linux distributions.


You must be logged in to post a comment.